
Whirlpool Energy Smart Water Heater Manual: A Comprehensive Guide
This manual details installation, operation, troubleshooting, and maintenance for Whirlpool Energy Smart electric water heaters, covering safety, smart features, and energy efficiency.
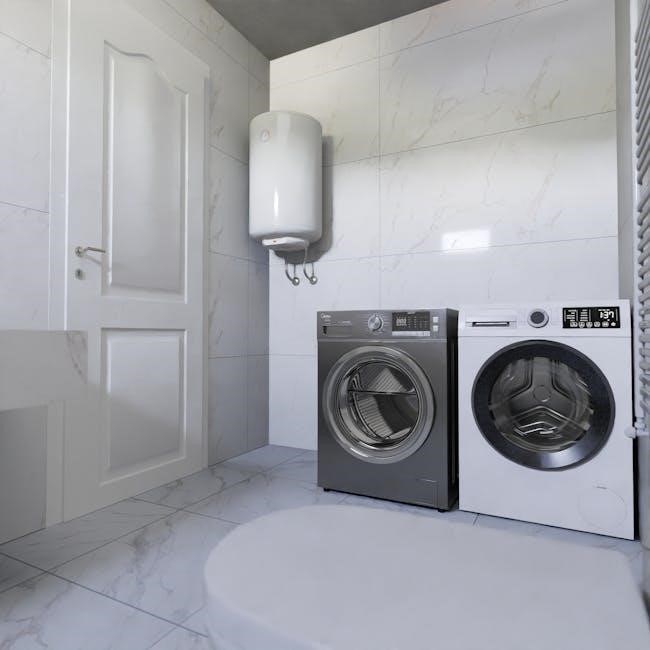
Welcome to the world of efficient and intelligent water heating! The Whirlpool Energy Smart Water Heater represents a significant advancement in home comfort and energy conservation. This innovative appliance combines reliable performance with cutting-edge technology, designed to provide consistent hot water while minimizing energy consumption and reducing utility bills.
This water heater isn’t just about heating water; it’s about smart heating. It leverages advanced features, potentially including smart home integration, to offer users greater control and insight into their water heating habits. Understanding its capabilities is key to maximizing its benefits. This manual serves as your comprehensive guide, walking you through every aspect of your new appliance – from initial setup and daily operation to troubleshooting and long-term maintenance.
Whether you’re a homeowner or a professional installer, this resource will equip you with the knowledge needed to ensure optimal performance and longevity of your Whirlpool Energy Smart Water Heater.
Understanding Energy Smart Technology
Whirlpool’s Energy Smart Technology is engineered to optimize water heating based on your household’s usage patterns. This system learns and adapts, predicting when hot water is needed and adjusting heating cycles accordingly. This proactive approach minimizes standby heat loss, a significant source of energy waste in traditional water heaters.
Key components often include intelligent sensors and algorithms that monitor water temperature and demand. Some models boast smart home connectivity, allowing remote control and monitoring via smartphone apps. Features like energy-saving modes and vacation settings further enhance efficiency. The goal is to deliver hot water precisely when you need it, and conserve energy when you don’t.
This technology isn’t simply about reducing costs; it’s about responsible energy consumption and a more sustainable lifestyle. By understanding these features, you can unlock the full potential of your Whirlpool Energy Smart Water Heater.
Safety Precautions and Warnings
Prioritize safety during installation and operation. Always disconnect electrical power before any maintenance or inspection. Never start the pump or heater if the water level is insufficient, potentially damaging components. Ensure proper grounding to prevent electrical shock, and have a qualified electrician handle all electrical connections.

Warning: Scalding can occur with excessively hot water. Set the temperature to a safe level, especially if children or elderly individuals are present. Regularly inspect for leaks and address them promptly to prevent water damage and potential hazards. Do not operate the heater if it shows signs of damage.
Important: Follow all local codes and regulations regarding water heater installation. Improper installation can void the warranty and create unsafe conditions. Refer to the full manual for detailed safety guidelines and heed all warnings.

Installation and Setup
Proper installation requires a pre-installation checklist, correct electrical connections, and adherence to water supply guidelines for optimal performance and safety.
Pre-Installation Checklist
Before beginning installation, verify local codes and regulations regarding water heater installations. Ensure adequate space around the unit for servicing and ventilation, following the manufacturer’s specifications. Confirm the electrical supply matches the water heater’s requirements – voltage, amperage, and proper grounding are crucial.
Inspect the water supply line for compatibility and ensure a shut-off valve is readily accessible. Check for any leaks or damage to the existing plumbing. Gather all necessary tools, including pipe wrenches, electrical testers, and a level.
Review the complete installation manual thoroughly before proceeding. Verify the water heater’s physical dimensions will fit the intended installation location. Finally, confirm you have all required fittings and connectors for both the water and electrical connections.
Proper Electrical Connections
Electrical work must be performed by a qualified electrician, adhering to all local and national codes. Before connecting, always disconnect power at the main breaker. Verify the voltage matches the water heater’s specifications – incorrect voltage can cause damage or fire. Use appropriately sized wiring, as indicated in the manual, to handle the amperage draw.
Ensure a dedicated circuit is used for the water heater, avoiding shared circuits with other appliances. Properly ground the water heater according to instructions; grounding is essential for safety.
Double-check all connections for tightness and secureness. Incorrect wiring can lead to malfunction or pose a serious electrical hazard. After connection, carefully restore power and test the unit’s operation. Refer to the manual for specific wiring diagrams and safety precautions.
Water Supply Connection Guidelines
Prior to connecting to the water supply, ensure the main water supply is shut off. Use new, approved flexible connectors to prevent leaks and corrosion. Apply pipe thread sealant to all threaded connections, but avoid over-tightening, which can damage fittings. Install a dielectric union to prevent galvanic corrosion between dissimilar metals – crucial for longevity.
A pressure relief valve (TPR valve) must be installed and properly directed to a safe discharge point, preventing pressure buildup. Check for leaks immediately after connecting the water supply and restoring water pressure.
Flush the tank before use to remove debris. Ensure all connections are watertight and comply with local plumbing codes. Refer to the manual’s diagrams for correct piping configurations.
Operating Instructions
Follow the initial startup procedure carefully, adjusting temperature settings via the digital display. Understand the heater’s functions for optimal performance and efficiency.
Initial Startup Procedure
Before initial startup, ensure the water heater is correctly installed and all electrical and water connections are verified as secure. Slowly introduce water into the tank, allowing air to escape from the pressure relief valve. This prevents airlock and ensures proper filling.
Once the tank is full, switch on the electrical power to the unit. The digital display should illuminate, indicating the heater is receiving power. Allow sufficient time for the water to reach the set temperature – this may take several hours depending on the tank size and incoming water temperature.
During this initial heating phase, monitor the pressure relief valve for any leaks, which could indicate a problem with the water pressure or the valve itself. It’s crucial to avoid using hot water until you’ve confirmed it has reached a stable, safe temperature. Refer to the display for temperature readings and follow all safety precautions outlined in the manual.
Adjusting Temperature Settings
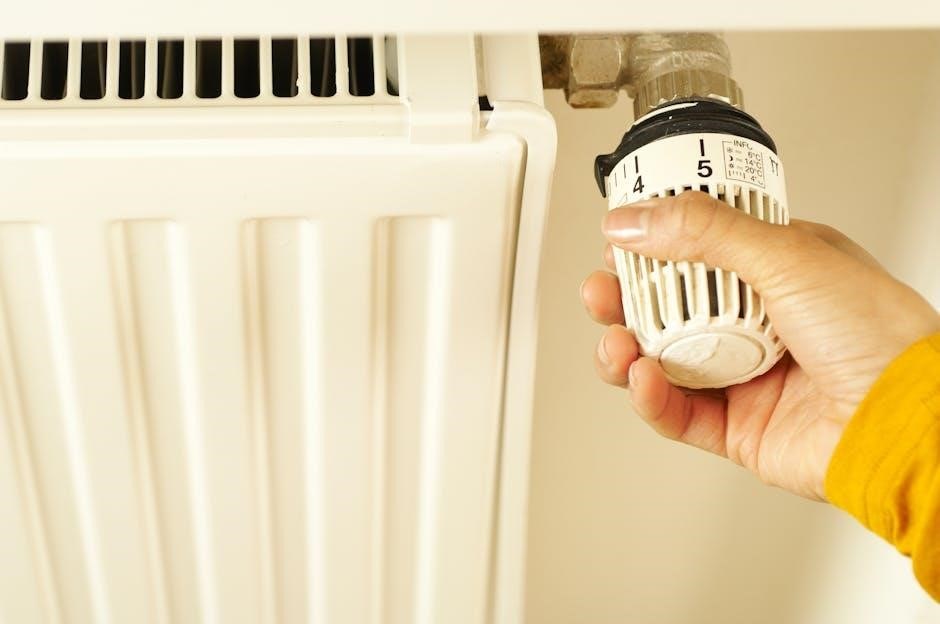
The Whirlpool Energy Smart Water Heater allows precise temperature control via the digital display panel. To adjust the temperature, press the “Temperature” or “+”/“-“ buttons until the desired setting is displayed. Recommended settings typically range from 120°F to 140°F (49°C to 60°C), balancing comfort and energy savings.
Lowering the temperature reduces energy consumption and minimizes the risk of scalding. However, excessively low temperatures can promote bacterial growth. The heater may feature preset modes like “Eco” or “Vacation” which automatically adjust the temperature for optimal efficiency.
Always allow sufficient time for the water to heat or cool after making adjustments. Be cautious when initially increasing the temperature, and monitor for any unusual noises or leaks. Refer to the manual for specific guidance on temperature settings and safety limits.
Understanding the Digital Display
The digital display panel provides crucial information about your Whirlpool Energy Smart Water Heater’s operation. It typically shows the current water temperature, selected mode (e.g., Auto, Eco, Vacation), and any active error codes. Buttons allow you to adjust settings, view energy usage data, and access diagnostic features.
The display may also indicate the heater’s status – heating, idle, or recovery. Error codes, when displayed, signal potential issues requiring attention; consult the troubleshooting section of this manual for interpretations. Some models offer smart home connectivity indicators, showing Wi-Fi status.
Familiarize yourself with the display’s icons and functions for efficient operation and proactive maintenance. Regularly checking the display can help identify and address potential problems before they escalate.
Troubleshooting Common Issues
This section guides you through diagnosing and resolving frequent problems, including error codes, lack of hot water, and leaks, ensuring optimal heater performance.
Error Codes and Their Meanings
Understanding the error codes displayed on your Whirlpool Energy Smart Water Heater’s digital display is crucial for efficient troubleshooting. These codes indicate specific issues within the system, allowing for targeted solutions. For instance, a code signaling an open tank heater requires immediate attention, potentially indicating a component failure or safety concern.

Refer to the complete error code list within this manual – or on Whirlpool’s support website – for a detailed explanation of each code. Common codes relate to temperature sensor malfunctions, heating element failures, or issues with the electrical connection. Always disconnect power before attempting any repairs. Ignoring error codes can lead to further damage or unsafe operating conditions. Documenting the error code before contacting customer support can expedite the resolution process, ensuring a quicker return to reliable hot water service.
No Hot Water Troubleshooting
Encountering no hot water from your Whirlpool Energy Smart Water Heater can stem from several causes. First, verify the power supply – check the circuit breaker hasn’t tripped. Confirm the heater is set to the desired temperature and isn’t in “Vacation Mode.” Inspect the digital display for any error codes, referencing the dedicated section of this manual for interpretation.
If power is confirmed and no error codes appear, examine the high-limit reset button (if equipped) – it may require resetting. A faulty heating element or thermostat could also be the culprit, requiring professional diagnosis. Never attempt electrical repairs without disconnecting power. Consider recent plumbing work; a closed valve could restrict hot water flow. If issues persist, contact a qualified technician for assistance, providing details about the troubleshooting steps already taken.
Leaking Water – Diagnosis and Solutions
Discovering a leak from your Whirlpool Energy Smart Water Heater demands immediate attention. First, disconnect the power supply at the circuit breaker. Carefully inspect the connections at the water inlet and outlet pipes, tightening if necessary. Examine the temperature and pressure (T&P) relief valve – a small drip here can indicate excessive pressure or temperature, requiring professional evaluation.
Leaks from the tank itself often signify corrosion and necessitate replacement of the entire unit. Check the drain valve for tightness and proper sealing. Do not ignore even minor leaks, as they can escalate quickly and cause significant water damage. If you are uncomfortable diagnosing or repairing the leak, contact a qualified plumber immediately. Document the leak’s location and severity when seeking professional help.

Maintenance and Care
Regular upkeep ensures optimal performance and longevity of your Whirlpool Energy Smart Water Heater, including annual checks, sediment flushing, and anode rod inspections.
Annual Maintenance Checklist
To maintain peak efficiency and extend the lifespan of your Whirlpool Energy Smart Water Heater, a yearly maintenance checklist is crucial. Begin by visually inspecting the unit for any signs of leaks, corrosion, or damage around the connections and tank.
Carefully examine the temperature and pressure relief (TPR) valve, manually testing it to ensure proper operation – always direct the discharge into a drain.
Flush the tank to remove sediment buildup, following the detailed procedure outlined in the manual. Inspect the anode rod for corrosion; replacement is recommended if significantly deteriorated to prevent tank failure.
Verify the accuracy of the digital display and confirm smart home integration is functioning correctly. Finally, check all electrical connections for tightness and ensure proper grounding. Document all maintenance performed for future reference.
Sediment Flushing Procedure
Regular sediment flushing is vital for maintaining water heater efficiency and preventing damage. First, switch off power to the unit and allow the water to cool completely. Attach a garden hose to the drain valve located near the tank’s bottom.
Direct the hose to a suitable drain or outdoors. Open the drain valve slowly, allowing sediment to gradually flush out. You may need to briefly open the cold water inlet valve to agitate and loosen stubborn deposits.
Continue flushing until the water runs clear, indicating all sediment has been removed. Close the drain valve securely, and then slowly refill the tank, bleeding air from the hot water lines.
Restore power to the heater only after the tank is completely full. This process prevents damage to the heating element and ensures optimal performance.
Anode Rod Inspection and Replacement
The anode rod protects the tank from corrosion, extending its lifespan. Inspect the rod annually, especially in areas with hard water. To access it, switch off power and drain some water from the tank. Locate the anode rod, typically under a hex-head plug on top of the heater.
Carefully remove the old rod – it may be difficult if heavily corroded. If significantly depleted (less than 6 inches of core wire remaining), replace it with a new magnesium or aluminum anode rod.
Apply Teflon tape to the threads of the new rod before installation. Reinstall the plug securely and refill the tank, bleeding air from the hot water lines.
Regular replacement prevents tank failure and maintains warranty validity. Ignoring this maintenance can lead to costly repairs or replacement.

Advanced Features
Explore smart home integration, energy-saving modes, and convenient vacation settings for optimized performance and reduced energy consumption with your Whirlpool heater.
Smart Home Integration Capabilities
Whirlpool Energy Smart water heaters offer seamless integration with popular smart home ecosystems, allowing for remote control and monitoring via compatible devices. This connectivity empowers users to adjust temperature settings, track energy usage, and receive alerts directly from their smartphones or voice assistants.
Compatibility typically includes platforms like Amazon Alexa and Google Assistant, enabling voice-activated control for hands-free operation. Through the Whirlpool app, users can establish customized schedules to align with their daily routines, optimizing energy consumption and ensuring hot water availability when needed.
Furthermore, integration provides valuable insights into water heating patterns, helping identify potential energy waste and promoting informed decision-making. Real-time notifications can alert homeowners to unusual activity or potential issues, enhancing peace of mind and preventing costly repairs. The smart features truly elevate the user experience.
Energy Saving Modes Explained
Whirlpool Energy Smart water heaters incorporate several modes designed to minimize energy consumption and reduce utility bills. Vacation Mode is a key feature, maintaining a lower water temperature while you’re away for extended periods, preventing unnecessary heating. Eco Mode optimizes heating cycles based on usage patterns, learning your habits to deliver hot water efficiently.
Smart Winter Protection, or similar features, prevent freezing in colder climates by periodically activating the heater. Scheduled Heating allows pre-set temperature adjustments throughout the day, aligning with peak demand and off-peak rates.
These modes are easily configurable through the digital display or the Whirlpool mobile app, providing convenient control. By utilizing these energy-saving functionalities, users can significantly lower their carbon footprint and enjoy substantial cost savings without compromising comfort or hot water availability. Understanding these modes is crucial for maximizing efficiency.
Vacation Mode Setup and Usage
Activating Vacation Mode on your Whirlpool Energy Smart water heater is simple and effective for energy conservation during absences. Access the setting via the heater’s digital control panel – typically found within the ‘Settings’ or ‘Mode’ menu. Select ‘Vacation Mode’ and specify the duration of your trip, ranging from a few days to several weeks, or set a return date;
Alternatively, utilize the Whirlpool mobile app for remote control and scheduling. Once enabled, the water heater will maintain a significantly reduced temperature, typically around 50-60°F (10-15°C), preventing freezing while minimizing energy waste.
Upon your return, simply deactivate Vacation Mode to restore normal heating operations. The heater will quickly return to your preferred temperature setting. Remember to allow sufficient recovery time for hot water availability. This feature is ideal for extended trips, ensuring both energy savings and peace of mind.


Leave a Reply
You must be logged in to post a comment.